

WordPress is one of the most popular CMS platforms for building a website. It’s easy to use, and it’s free. It also boasts a great community of developers and designers who are always willing to help out with any questions you may have.
However, not everyone who designs in Photoshop knows how to create a WordPress theme from scratch. Luckily for you, this blog post will show you how to do just that so that you can easily convert your PSD files into WordPress themes.
What is PSD?
PSD is the format of Photoshop. It is the default save format for any file or project created with Photoshop. You can liken it to a Microsoft Word file for word processing or MS Excel for spreadsheets.
Generally, PSD is used to save elements like layers, styles, and smart objects so you can easily re-edit them later. The PSD format is also used for exporting web graphics from Adobe Fireworks, but it can only be opened in Photoshop CS3 or higher.
What is a WordPress Theme?
A WordPress theme is a collection of files that determine the visual appearance of your website. It includes stylesheets, images, and other files. You can use a theme to change the look and feel of your site.
WordPress themes are typically sold as packages that include both the code and the images used in the design. You can buy these packages from theme developers or companies selling them as part of their hosting packages.
Why Converting PSD to WordPress Theme is Popular
A website is no longer a luxury as most corporate and individual brands go digital. To have a modern, responsive website, converting PSD to a WordPress theme is a necessary skill. Two primary reasons are responsible for this.
First reason: Although there are alternative graphics editing and designing software packages, most web designers still use Adobe Photoshop to design websites. This is due to its numerous advantages, such as ease of use and speed.
Second Reason: According to a 2022 World Wide Web Technology Surveys report, it has been estimated that not less than 43% of all websites and 65% of all websites using a content management system are powered by WordPress. Therefore, by far, the blogging platform remains the most popular content management system (CMS), beating competitors like Shopify, Wix, Squarespace, and Joomla.
Due to the reasons above, Photoshop to WordPress conversion is a popular topic as many designers have to devise a way to convert PSD files to WordPress themes. Although the idea of the conversion process appears relatively straightforward, the actual conversion of a PSD file to a WordPress theme is not simple. You must know front-end languages like HTML, CSS, JavaScript (where it is used), and the backend language PHP.
Steps to Convert PSD File to WordPress Theme
After creating a good web design – one that perfectly balances form and functionality and also guarantees excellent user experience – it’s time to embark on the PSD to WordPress theme conversation. Since most websites these days are all built using HTML5 and CSS3, this guide will be based on these versions of the programming languages. Below are the four steps you must go through for the conversion to be completed.
Step 1: Slice the PSD into Images
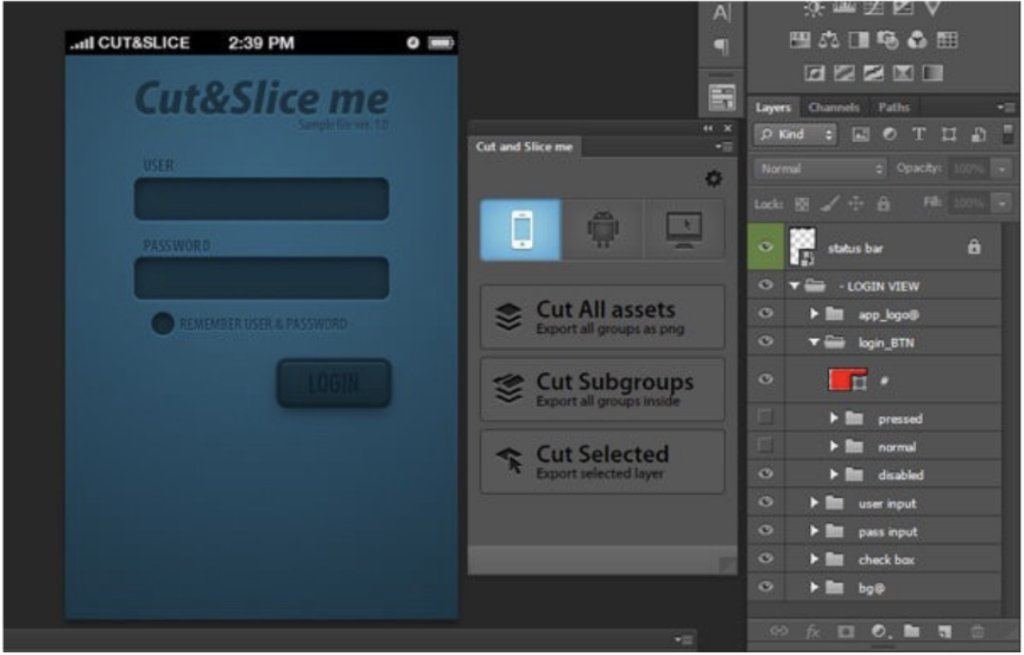
Slicing, also called splicing, is the foremost step in the PSD to WordPress conversion, as one PSD file can’t be used in the coding of a theme. It is the technical term used to divide a design file into several image files, each containing different design elements.
In CSS3, slicing a PSD file involves cutting only the background images from the PSD. This is because all of the features created with images in XHTML and CSS2 are incorporated into CSS3.
For the actual slicing, follow the steps below.
- Separate different images from your PSD, and save them individually, preferably using Adobe Photoshop.
- After checking the design for images you would need to slice (those that CSS3 can’t create), separate images to be included in your web page.
- Use CSS to reduce the background images. This will reduce load times and increase user attraction.
- Get pixel-perfect images representing various elements of your design by using image optimization tools
Step 2: Create HTML, CSS, (and JavaScript) Files
Next is coding the sliced elements into HTML and styling them with CSS. After slicing the images from your PSD file, you must create the HTML5 and CSS3. It is better to know about the two before starting this step.
HTML5 is a new programming language that combines the functionalities of XHTML and HTML. It has separate elements for sections like <header>, <footer>, etc. For basic and advanced education on HTML, check out the learning resources at Mozilla Developer’s Section and Web Design Tuts.
CSS3 is the latest version of Cascading Style Sheets (CSS), the popular front-end language responsible for visual design, cross-browser compatibility, and responsiveness. CSS3 is used to style HTML5 elements to align the overall web design. Using CSS3 allows for a cleaner and well-structured HTML5, which increases page load-time and indexing. For basic and advanced education on HTML, also check out learning resources.
To convert PSD to HTML and CSS template, you must code an HTML file (for the web page) and a CSS file (for the visual design). To create and edit the said files, you can either use Notepad or a programming editor such as Adobe Dreamweaver. Follow the steps below to create the HTML and CSS files needed for the PSD conversion.
- After launching the editor, create and save a new file named ‘Index.html.’
- Create and save another file named Style.css.t.
- Launch the Index.html file and write in the basic code of header, content, footer, and sidebar tags.
- Include proper references to ‘id’ and ‘class’ in the HTML to connect tags to your CSS file. Then, save the HTML file.
- Open the Style.css file. Write in the basic styling code, using the same ‘id’ in Index.html for fields like header, content, footer, sidebar, etc.
- Add the images you sliced appropriately in the CSS file.
- Now, use different platforms to view the live web design to ensure responsiveness across boards.
Step 3: Embed WordPress Theme Structure into the HTML File
With the HTML and CSS files now ready, it’s time to convert your HTML to a theme that can be integrated into WordPress. In fact, the ultimate motive for PSD to WordPress theme conversion is the creation of a template that is functional and can be used on your site. Hence, this step requires knowing your way around WordPress structure for themes and templates, especially the knowledge of PHP, the programming language of WordPress files.
Breaking the Index.html file of your Photoshop file into several PHP files according to WordPress template structural hierarchy is a must. This is done to make the static Index.html become a dynamic WordPress theme and to incorporate WordPress functions.
A typical WordPress template comprises several different PHP files to ease coding. Some popular ones include Style.css, Header.php, Index.php, Sidebar.php, Footer.php, and Single.php.
Out of all the files, only Index.php and Style.css files are essential to creating the theme effectively. Since the two major WordPress files – Index.php and Style.css – are similar to the files we created before, you won’t have much difficulty integrating them.
The steps to embed the WordPress theme structure into the HTML file are identified below.
- Break the HTML files to fit according to each of these PHP files. To do this, replicate into the themes all the WordPress installation folders.
- Download and upload your preferred WordPress theme to your hosting panel.
- Use your browser to confirm the website now displays the theme design.
- Replace the code in Index.php with the one inIndex.html.
- Replace the code in Style.css with the Style.css file you created earlier.
- Save the files. Use your browser to view the website design again. You should see that the new design is live now.
- You can, after that, edit the design or code of the page accordingly
Step 4: Add WordPress Functions and Tags
After creating your WordPress theme, ensure you can edit your website within the admin panel.
Since WordPress has inbuilt tags and functions for websites, it is not difficult to create the crucial functionalities of your website. For existing themes, most of the tags are already present. But, for a new WordPress theme, you must search and add the necessary tags and functionalities. The function reference page of WordPress has more information on the tags. WordPress also has template tags, which are functions created for particularized themes to have increased efficiency.
For this fourth and final step in the PSD to WordPress theme conversion, follow the below steps.
- Insert WordPress PHP tags to theme files, such as Index.html, Header.php, Footer.php, etc., from the preceding step.
- Combine them to make a functional theme.
- Load your stylesheets using wp enqueue style () in the Function.php file.
- After adding WordPress tags and functions, place all these files in a single folder similar to the theme name. Place this folder in the /wp-content/themes/ directory of your website installation.
- Start your new theme. You may improve its functionality to your taste afterward.
With the implementation of the fourth step, you should now have a fully functioning responsive WordPress theme.
Testing the New WordPress Theme

Testing is a crucial part of any web development process. Here you unit-test your newly completed WordPress theme and correct any errors related to your WordPress, PHP, and JavaScript.
Also, test-running allows you to validate HTML and CSS on W3C standards. All the programming languages used throughout the PSD to WordPress theme conversion can also be modified until your WordPress theme runs perfectly.
Furthermore, while performing tests, remember to test the new WordPress theme for performance, responsiveness, and browser compatibility.
Final Words
As many designers encounter failures when converting Photoshop files to WordPress themes, several alternatives are being explored. One solution is hiring a professional for the PSD file to WordPress responsive theme conversion for those who have the means to afford one. Another is using front-end toolkits like Bootstrap for the conversion.
In all, although PSD to WordPress theme conversion isn’t a piece of cake, it is the best choice if you have some understanding of programming and website design. Following this guide, you will not only learn the steps to convert PSD to WordPress theme but also become motivated by the knowledge to try your hand at a genuine conversion.